
This little mini album is prefect to
feature photos from one special occasion. They are so easy
and quick you can make one in under an hour.
Supplies needed:
Cutter/ with scoring blade
- Adhesive
-2 sheet 12 x 12 double sided paper
- Ribbon and embellishments
- 1" Circle punch
1. Cut your two 12 x 12 pieces of paper exactly in half, so you will have 4 pieces each measuring 6 x 12″

2. Score 2 pieces twice – once at 4″ , once at 8″, fold along the score lines, accordion style (one piece forward, one piece back, )


3. Glue the pieces together so you
have one long piece (glue the bottom rectangle from one piece overlapping the
top rectangle on the next piece)


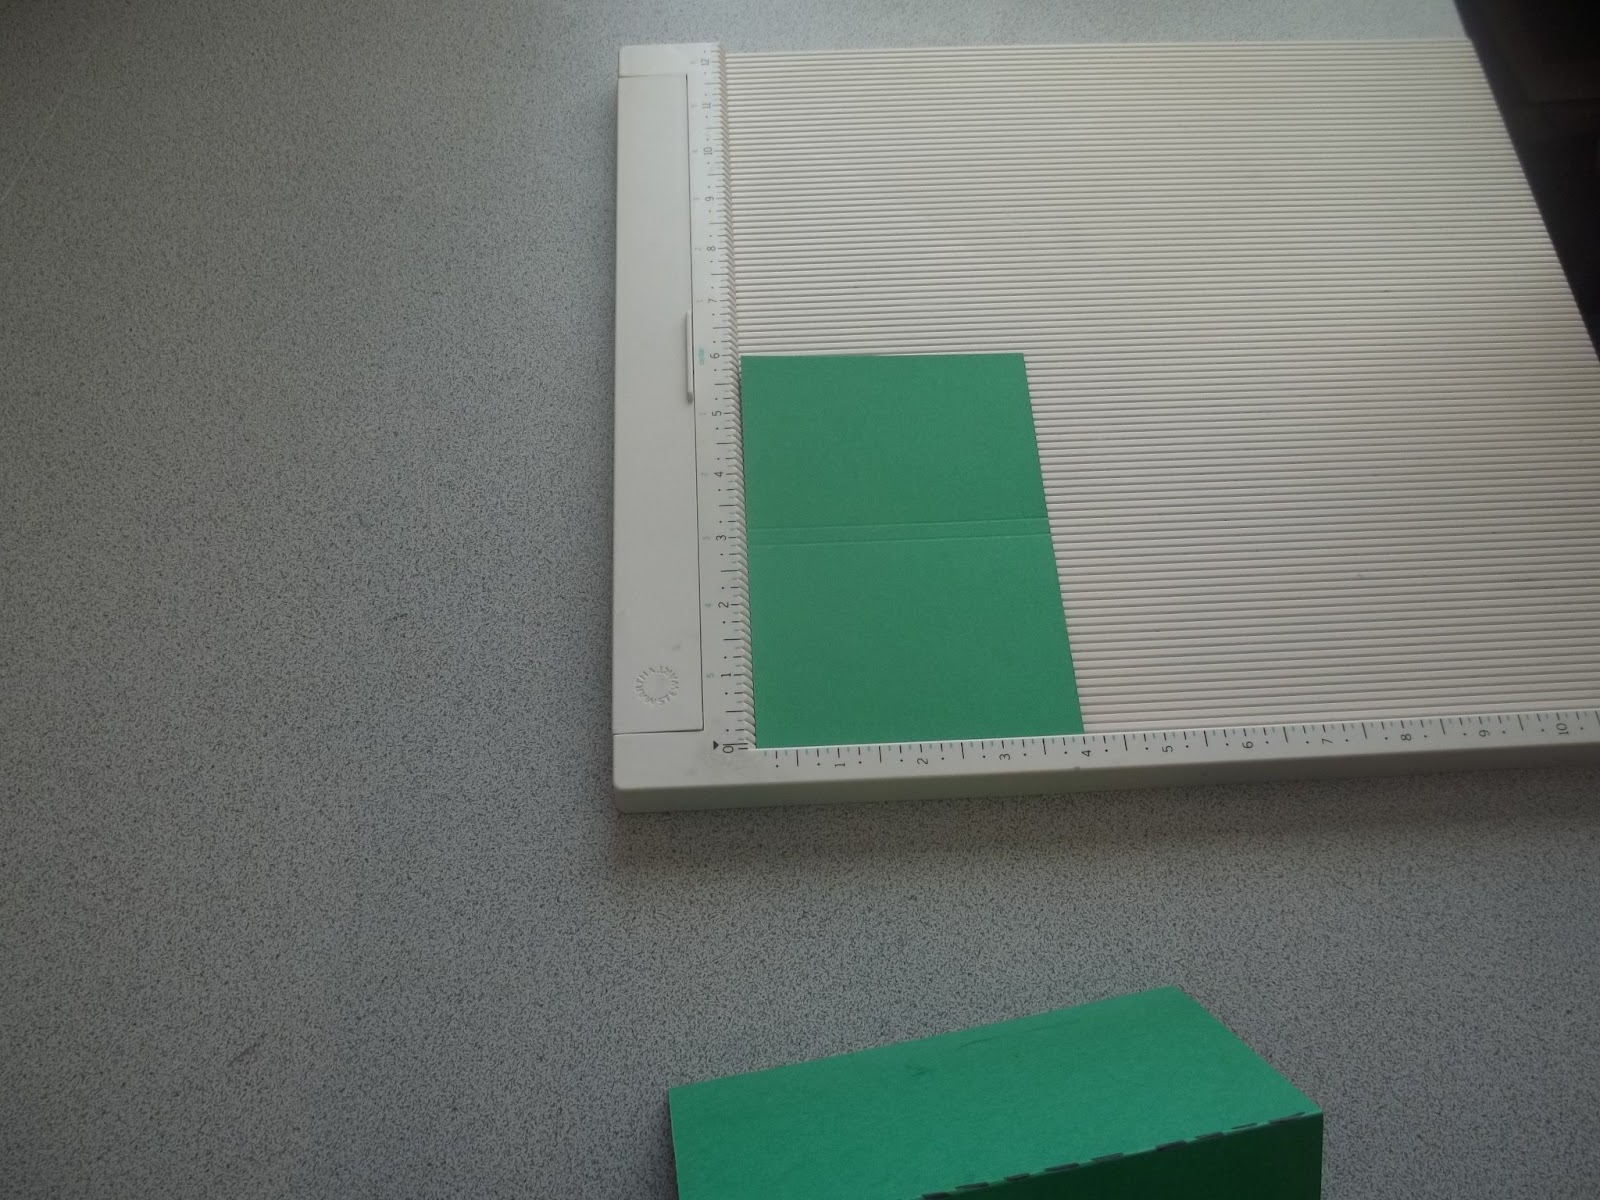
4. Cut one 6 x 12 piece of double side paper 4" you will have 3 pieces each measuring 4 x 6. Score 2 pieces twice once at 3" and once at 3 1/4" and fold on score lines


5. Line up the bottom crease mark of
each cover with the edges of the fifth page and attach the 2 3/4" side of them to the back of the
album. The cover will not touch in the back.


6. Take the last 4 x 6 paper and
cover the back of the album.

7. Punch two 1" circle from your scraps.

8. Attach a piece of ribbon with adhesive to inside of each cover using the 1"
circles to help hold the ribbon in place. Accordion
fold the album, close the album and tie ribbon in a bow to finish the
album.


Have fun adding photos and
embellishments to your album!
No comments:
Post a Comment